What is the air pressure?
Atmospheric or air pressure is a force applied on a surface by the air above because of the influence of gravity. Gravity is pulling down the air molecules and they are pressing their weight on top of the Earth’s surface.
In humid air, the pressure is lower than when the air is dry.
The pressure is highest at sea level, where there is the highest density of those air molecules. As the altitude increases, the atmospheric pressure drops.
The amount of oxygen in the air also decreases with the pressure decreasing. The higher we go, the lower the pressure and amount of oxygen. That is why at high altitudes, we can feel dizzy and sick due to the lack of oxygen.
Besides altitude, the amount of humidity is an important influence on air pressure. Water molecules in the air, contained in the water vapor, weigh less than the oxygen (and other gas molecules) so as the air becomes more humid, it’s lighter and therefore the pressure is lower.
At sea level, air pressure affecting our body is approximately 15 tons! But that pressure won’t crush us since there is also an inner pressure of equal size so they nullify each other.
The atmospheric pressure is measured using a barometer. As the weight of the atmosphere changes, mercury in a glass tube rises or falls. The mercury rises when the atmospheric pressure is high.
Materials Needed for the Air Pressure Experiment
All we need is an empty Soda Can, Bowl with Water, Kitchen Tongs, and a Heater.
- Empty can. A standard soda can or beer can will do great for our experiment. These aluminum cans can be easily obtained in any grocery store since many beverages come packed in cans.
- Bowl of Water. Put some cold water into a bowl or a basin. It doesn’t have to be ice cold, just regular cold water from the pipe will be enough.
- Kitchen Tongs. We will need something to hold a hot can, and kitchen tongs are the best tool we can use for that.
- Heater or stove. For getting the water inside of the can boiling, we need a heater. We can use our kitchen stove to achieve our goal.
- Optional: Spoon and Funnel. The spoon and funnel will help us in adding a little bit of water inside of the can. We can just add water directly from the pipe so this is optional. But for demonstration purposes, it is good to show adding water in the can.
Instructions on doing the Can Crush Experiment
If you’re interested in a video guide, you can watch the video at the beginning of the article. And for step-by-step instructions and explanations, continue reading further.
- Put one or two tablespoons of water (around 15 milliliters) into the empty can. Here you can use a funnel and spoon to demonstrate the procedure. Or you can add the same amount of water directly from the pipe if you are not demonstrating the experiment to other people.
- Prepare cold water in some container that is big enough to sink the can in it. We will do that in just a minute.
- Heat the can until the water inside starts to boil. For this, you can use the stove or a heater. Since the amount of water inside the can is small to hear water bubbling, you can tell that it is boiling when you notice steam coming out of the can.
- Use the kitchen tongs to grab the can. Be careful, the can is very hot so use tongs to not get burned. Turn the can upside down and sink it in the cold water container.
- You will instantly hear a loud pop and the can will crush because of the pressure difference.
Science Behind The Air Pressure Experiment
So what happened to the can? Why did it get crushed? By heating up our can, we boiled the water inside it. The process of boiling turned the water into vapor. And since the water vapor molecules are much more spread out than the water molecules, they take more space and are forcing the molecules of air out from the can.
And when we put the can in the cold water, we suddenly cooled it. That cooling caused the water vapor in the can to condense, creating a partial vacuum. Because of that, the pressure outside of the can became much greater than the pressure inside, and that pressure difference crushed the can.
As the air leaves the can, it gets crushed by the air pressure from outside. That is called an implosion.
So in summary, a can will get crushed when the pressure outside is greater than the pressure inside of the can. Also, the pressure difference must be greater than the one the can is able to withstand. For example, we can easily crush an aluminum can with our hands. When we squeeze the can, the pressure outside becomes greater than the pressure inside. If we squeeze hard enough the can collapses.
This phenomenon also has a name - implosion! As you may guess, an implosion is the opposite of an explosion. Implosion is a process in which objects are destroyed by collapsing on themselves. Implosion reduces the volume of an object and concentrates matter and energy into a smaller space.
We may also ask ourselves: "Won't the water from the bowl fill the can through the hole when we sink the can?" Some water may actually come inside of the can, but the water cannot flow into the can fast enough to fill it before the air outside crushes it.
What will you develop and learn by doing the Can Crush experiment?
- Knowledge from chemistry and physics
- What is the atmospheric pressure and how does it work
- How is pressure affecting the human body
- What is Implosion
- How to conduct an experiment
We hope you enjoyed this science activity as much as we did. And if you are searching for more similar science experiments, we have the right ones for you:
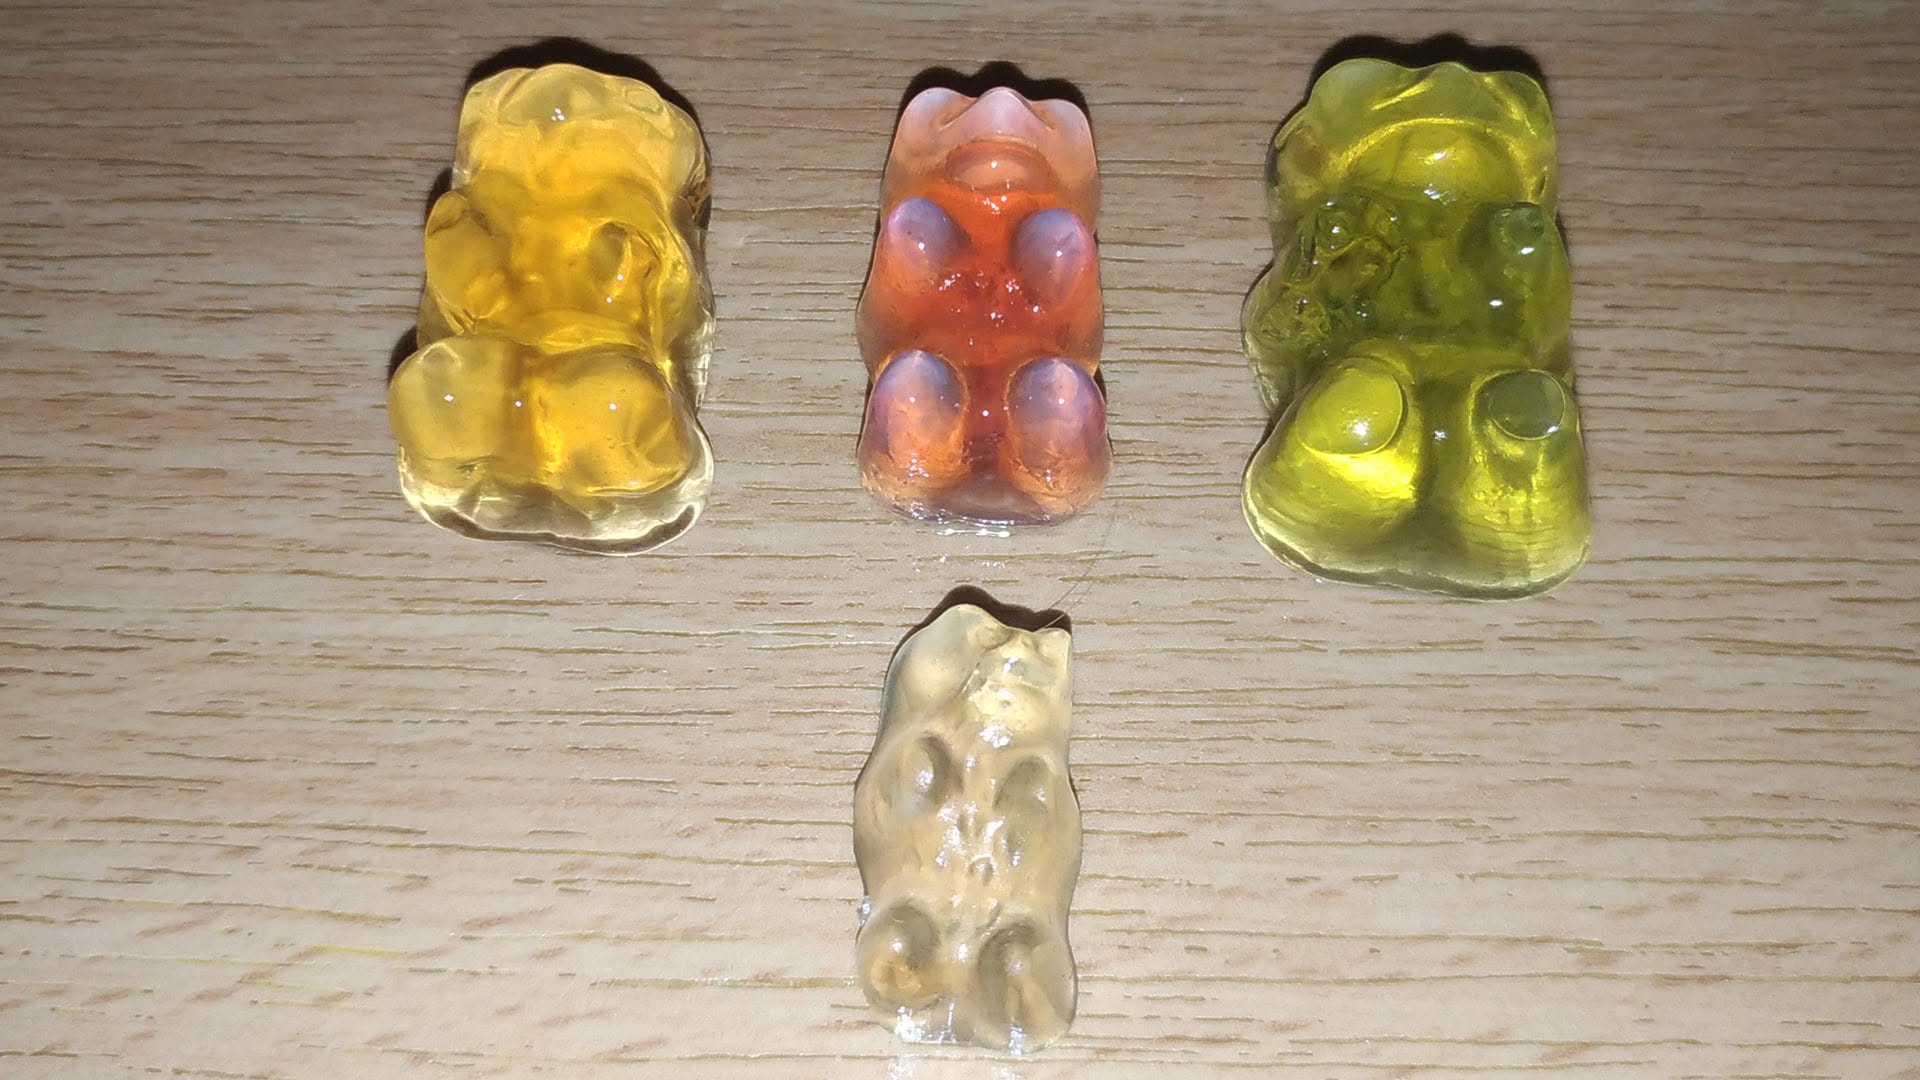
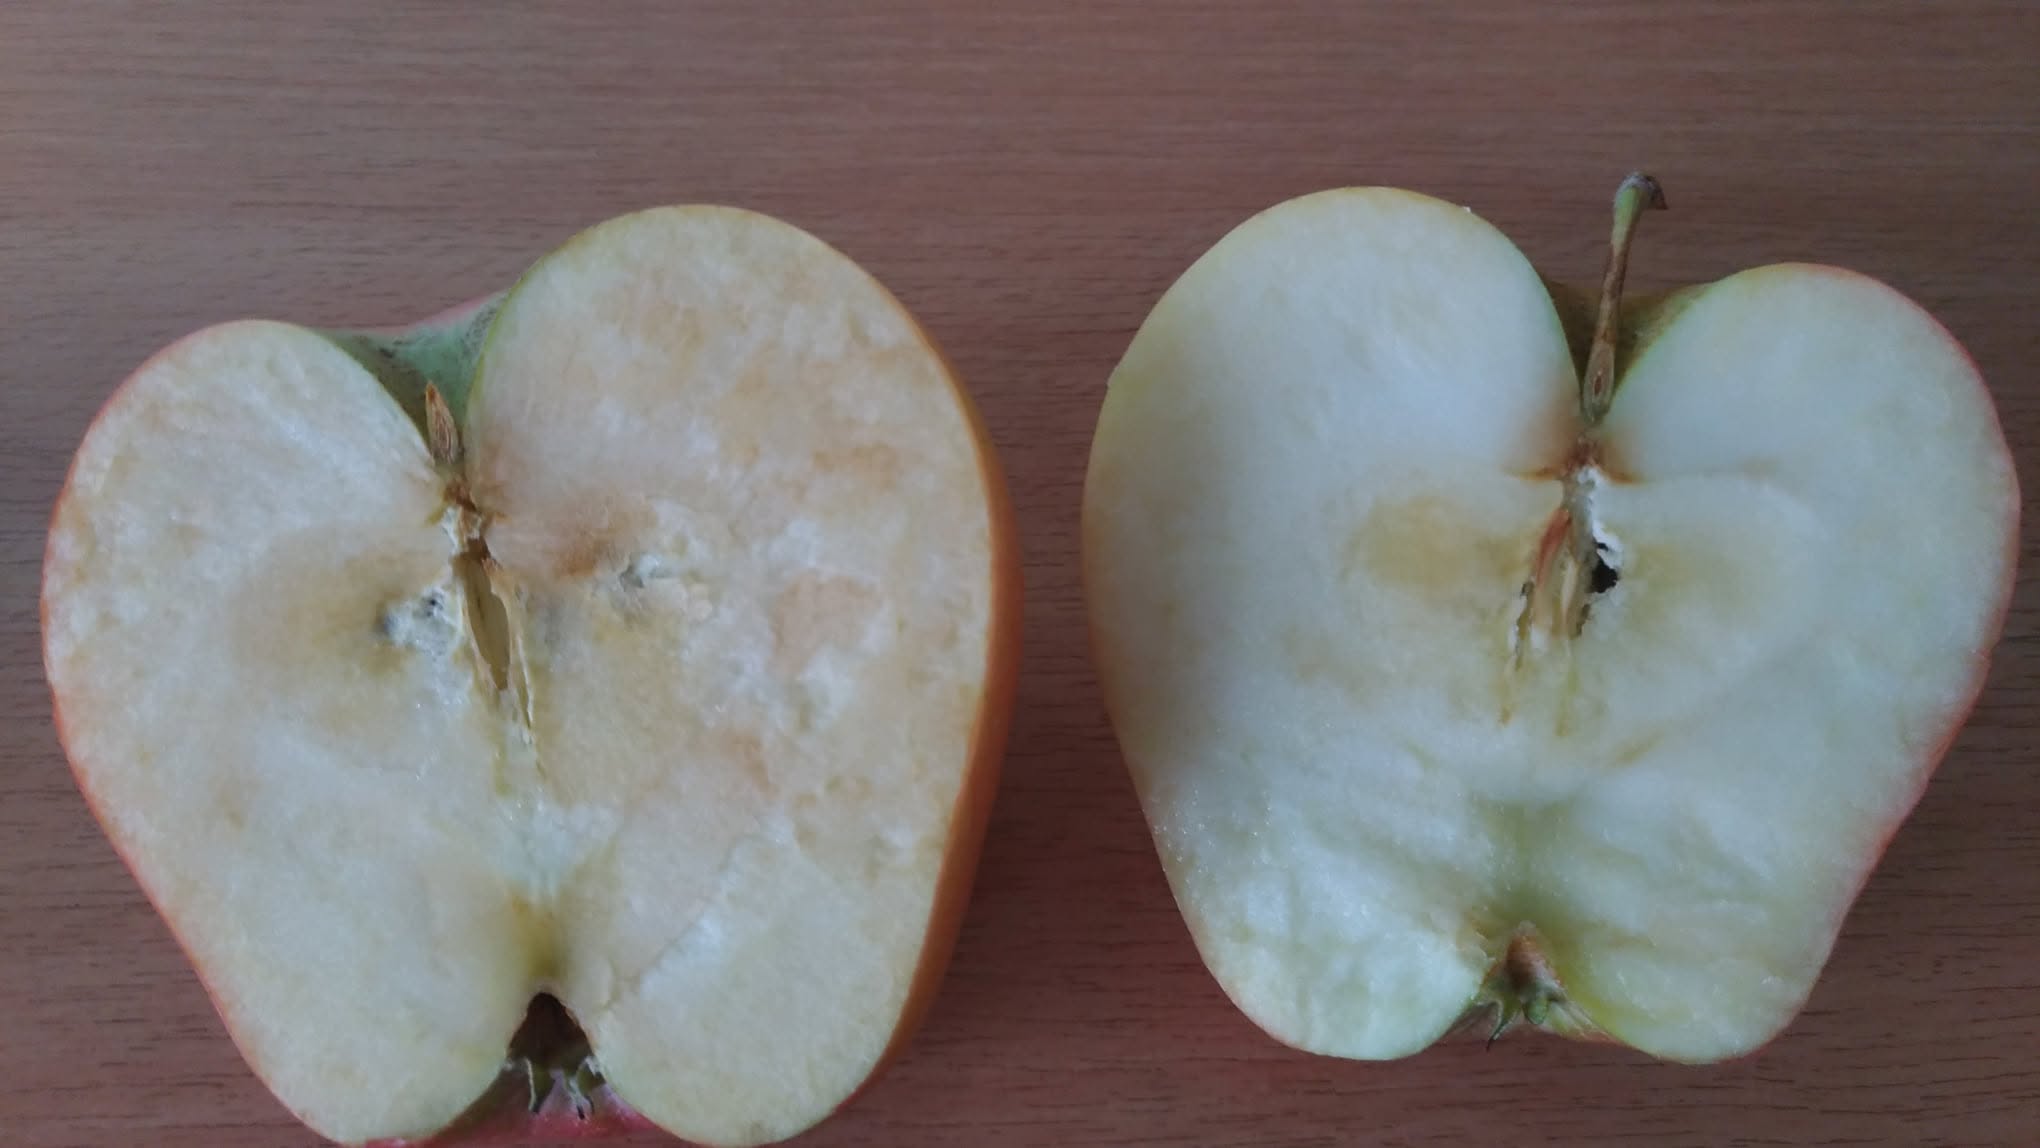
- To learn more about oxygen effects, check out the Apple Oxidation Experiment activity.
- Check the Diffusion experiment to learn the different properties in hot and cold water.
- For Heat effects, you can check activity What is heat conduction and how to demonstrate it.
- And to learn more about heat effects on different materials, check the Shrinking bag experiment.
And until next time, happy exploring!