What are Crystals and how do they form?
Crystals are really special and unique material. They are solid material that forms from molecules that are arranged in exact and repeating patterns. Because of that, crystals can form all sorts of unique patterns - like a snowflake for an example. Each snowflake is unique and we will never find 2 exactly the same.
In the natural environment, crystals grow in one of three ways: from solution, from a melt, and from the vapor.
Crystals most commonly form from solution when liquids cool and start to harden. Like in our snowflake example. Molecules in liquid are getting together in an attempt to become stable. Also, liquid molecules are grouping in a repeating and uniform pattern which results in crystal formation. The process of crystal formation is called crystallization.
When molecules start to arrange in exact and repeating patterns, we get crystals.
Most known crystals are rock crystals like diamonds, rubies, and emeralds and they form from a melt. They form from volcanoes when liquid magma cools. If magma cools slow enough, it will result in crystals forming. You can learn more about volcanoes in the article How to make a homemade Volcano.
Crystals can also form from evaporation. As the liquid evaporates slowly, it can form crystal formations. Salt crystals are the best example of crystallization when saltwater evaporates.
All crystals grow in a three-stage process: nucleation, growth, and termination.
- The first stage, called nucleation is when molecules are getting together and form a stable, subatomic structure in a repeating, uniform pattern.
- The second stage, called the growth stage is when more molecules are attracted and added to already formed subatomic structure. Additional molecules are added in a repeating, orderly manner. That is why crystals get their most recognizable feature - symmetry.
- The final stage, called termination is where the growth stops. Since there is no limit on how big crystal can grow, this stage is usually reached when there are no additional molecules that are attracted to the crystal and when there is no room for the crystal to expand.
As we already mentioned, there is no limit on how big a crystal can grow. The largest crystal ever found is beryl from Malakialina found in Madagascar. It is 18 meters long and more than 3 meters wide and weighs 380 tons. But crystal formation can take a long time. Even the growth rate of 2 millimeters per day means that hundreds of molecule layers must be laid down each second on the crystal surface. There is an enormous number of molecules required for crystal growth.
The science behind Sugar Crystals
How do we go from granulated sugar to sugar crystals? Well, sugar crystals form when molecules in sugar arrange themselves in a pattern and that happens when there is a lot of them in the small area. We call that process nucleation.
To achieve that, we need a solvent - water in our case, and a solute (granulated sugar). Dissolving solute in the solvent gives us a solution that can be more or less saturated. We want our solution to be saturated, so we will dissolve as much sugar as possible. The heat helps with the dissolving process, which means we can use even more sugar.
In the supersaturated solution, our sugar molecules will form into crystal formations.
When we cool down our liquid it becomes supersaturated because now it holds the much greater concentration of sugar than water. In the supersaturated solution, we have more solute than solvent which means that the solution is unstable. Molecules collide with each other more frequently and that makes them stick together. With time, as more water evaporates, more and more molecules end up sticking together and we perceive that as a growth of our sugar crystal.
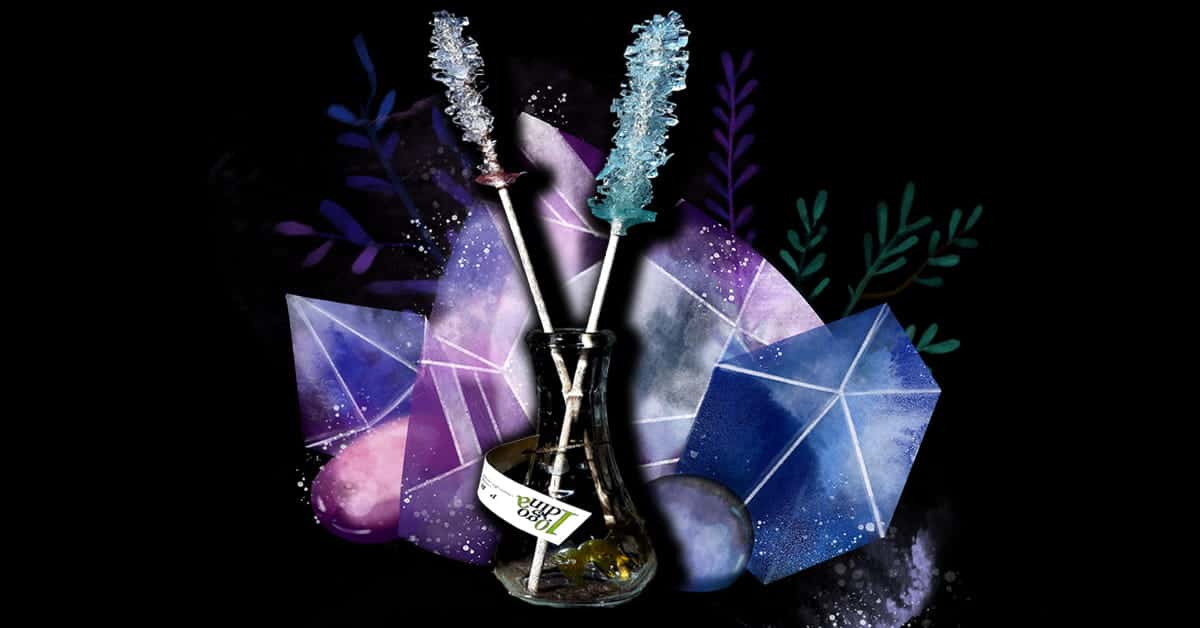
In the end, your rock candy is made by almost a quadrillion (10^15) molecules!
Materials needed for Sugar Crystals Experiment
All we need is some Water, Sugar, Funnel, A couple of Jars, Pot, Wooden sticks, Clothespins to make some amazing crystals.
- Water
- Sugar
- Funnel (optional)
- A couple of Jars
- Pot
- Food Colors
- Wooden sticks
- Clothespins
Instructions for conducting an experiment
We have a video at the beginning of the article for a step by step instructions on how to conduct the sugar crystals experiment. Or you can read further for a detailed, step by step explanation of the whole process.
- Measure the sugar so the ratio is 1.5 cups of sugar on 1 cup of water.
- Add water to the pot and let it boil.
- When it boils, start pouring sugar. Let it dissolve completely before adding the next batch.
- Repeat until all sugar is gone. The solution should be thick at this point. Leave it to cool down for 15 minutes.
- Add some sugar on the plate. Take wooden sticks and soak it in the water at one end (that’s where the sugar crystals will form). After that rub that soaked part into the sugar. Leave it to dry for 30 minutes.
- Add sugary mixture into the jars. You can optionally add some food colors into jars so that crystals are colored.
- Now we need to put our sticks into the jars. We need to stabilize them so we will use clothespins. Connect two clothespins and pass the stick through the middle. Put the stick into the jar (the part which you coated in sugar earlier down) but don’t let it touch the bottom. Do this for all sticks/jars you have.
- Leave the jars for 2 weeks. As time passes the crystals will grow.
- When you decide to take them out, first use something to break the upper layer (it will also be solid).
- Our homemade hard candy is done! Enjoy it! :)
What will you develop and learn making Sugar Crystals
- Chemistry Principles
- How to conduct an experiment, use the scientific method and perform observations
- Measuring and proportions
- How to make homemade hard candy and how to grow your own crystals
We hope you will enjoy this simple and fun kitchen experiment. It’s really tasty science! Sugar crystals are amazing to watch, so if you don’t want to eat them, you can use them as a decoration.
If you crave more kitchen experiments you can try How to make Homemade Playdough, How to make Homemade Plastic or Gummy Bear Osmosis Experiment.