How do Windmills or Wind Turbines work?
While there are differences between Windmill and Wind Turbine, the basic functioning principles are the same - they both use wind energy. Windmills were mostly used to mill the grain to flour, wind turbines are used to produce electrical energy. We will describe the principles of producing electrical energy since sustainable energy is an important topic these days.
The Wind Turbine transforms Kinetic energy into Electrical Energy. The numbers match the steps described below.
- The wind blows towards the wind turbine and her rotor blades.
- Rotor blades on the wind turbine turn and transfer the kinetic energy from wind to the drive shaft in the center of rotor blades.
- Some Wind turbines can have a pitch control mechanism. Those are small electric motors that turn wind turbines at the best angle towards wind for the best effect.
- Inside the body (called nacelle) at the top of the wind turbine tower, we can find a gearbox. The gearbox converts low-speed rotation from wind (around 16 rpm) to high speed (around 1600 rpm) that is enough to power the generator that sits right behind the gearbox.
- In nacelle, we can also find a generator that is behind the gearbox. The generator takes kinetic energy from the spinning gearbox and converts it into electrical energy.
- On top of the nacelle, we can find an anemometer. The anemometer or Automatic speed measuring device provides information about wind speed and direction.
- Under the nacelle, we can find a yaw motor and breaks. The Yaw motor's job is to rotate the wind turbine in the direction of the wind so it captures the maximum amount of energy. The breaks stop the turbine from turning if the wind is too strong so it won’t get damaged.
- The cable inside the tower of the wind turbine is transferring electrical power to the transformer.
- A transformer converts electricity from the wind turbine to a higher voltage (usually 50 times higher voltage) so it can be connected to the power grid.
- The power grid brings electrical energy, green energy, to our homes.
- Wind continues past the turbine but with less speed and energy, and more turbulence since the turbines have disrupted the flow.
How much electricity can a Wind Turbine produce?
Electricity production is largely influenced by wind strength. A typical Wind turbine has a 2-3 MW (megawatts) capacity and can produce over 6 million kWh (kilowatt-hours) electricity per year. That is enough to power around 1 500 average households!
There are different sizes of Wind turbines but all of them can produce a sizable amount of renewable energy.
The wind turbine has on average 30% to 45% efficiency reaching 50% in the best possible scenarios. That may seem low but at 100% efficiency, it would mean that all wind would be absorbed by the wind turbines.
The faster the wind, the more power the wind turbine generates. When the wind speed doubles, 8 times more electricity is generated. But there is a cap and wind turbines need to be stopped if the wind is too strong or they risk being damaged.
The symbolism of a Paper Windmill
The wind itself is a symbol of change, movement, and energy. The Windmill is a way to achieve that change.
Chinese culture believes that a windmill symbolizes the ability to turn your luck around and embrace changes in your life.
In other cultures windmill frequently symbolizes children’s free, innocent, carefree nature and energy.
In European culture, windmills are famous for their reference in “Don Quixote” where the phrase “tilting at windmills” was coined and is still used today to describe noble but futile and unrealistic fight or cause.
One of the most known symbols of Windmills comes from the famous book Don Quixote.
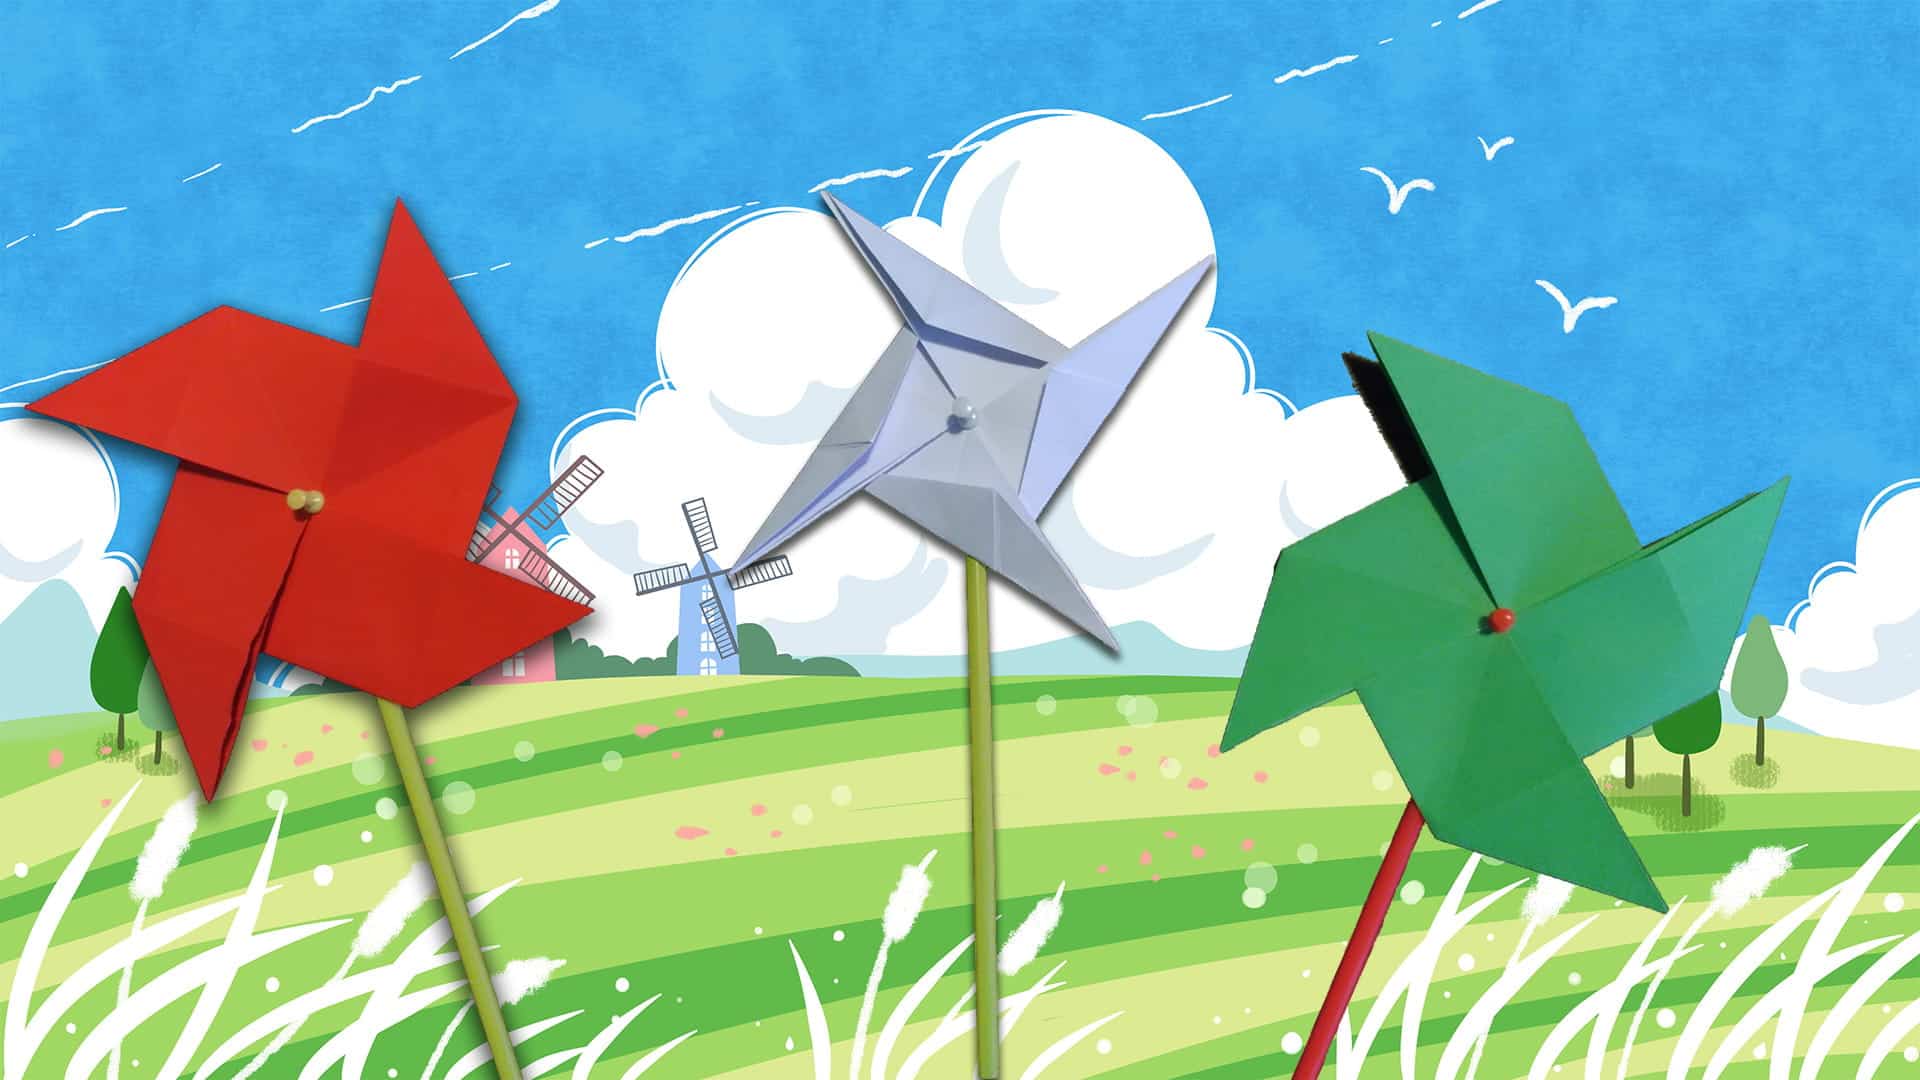
Materials Needed for Paper Windmill (Paper Pinwheel)
To make the Paper Windmill, all we need is paper, Pin, and a Straw.
- Paper. Plain A4 piece of paper will be good but we recommend you get some colored paper for the nicer paper pinwheel. A dedicated origami paper would be the best, but it’s not required.
- Pin. One board pin or any other kind of pin will be good to attach our paper windmill part to a straw.
- Straw. Easiest to use is a drinking straw, but you can also use some wooden sticks or even some wooden pencil to serve as a stand. Anything that is thick enough to attach a pin on it will be good.
- Bonus: Colored Pencils. We can use Colored Pencils to draw different shapes on our origami Pinwheel and make it truly unique.
Instructions On How To Make Paper Windmill (Paper Pinwheel)
The best way to learn how to make origami is by watching somebody making it and following it yourself. That’s why we recommend that you watch a video at the beginning of the article for step by step instructions. If you can’t watch the video, follow the instructions in the diagram.
Paper Windmill - Diagram
Instructions for this origami Pinwheel are taken from Pinterest.
- First, we need to make a square paper if we are using A4 paper.
- Fold one corner to the edge of the paper.
- Cut or rip off the surplus of paper.
- Now fold a square sheet of paper in half horizontally, and unfold. Fold in half again vertically, and unfold. Now you will get a horizontal line and vertical line on the paper.
- Fold the left and right edge of the paper towards the center dot. Unfold. Now we have 4 vertical folds on our square paper.
- Do the same for the top and bottom edge of the paper and fold them towards the center dot. Unfold. Now we have 4 more horizontal folds.
- Now fold a square sheet of paper diagonally, to get an X-shaped crease. Unfold. Flip the paper on the other side.
- Fold the four corners towards the center of the paper. Unfold. Turn the paper over. You are now ready to shape the paper into a windmill base.
- Refold the crease located one-quarter of the distance from the bottom edge of the paper. And Refold the crease located one-quarter of the way from the right edge of the paper at the same time.
- A small flap of paper will be formed. Swivel it towards the right side of the paper. You can also swivel the flap downwards, but be sure to stay consistent with which direction you fold subsequent flaps.
- Rotate the paper 90 degrees clockwise.
- Repeat steps 6 and 7 and a second flap will be formed.
- Rotate the paper 90 degrees clockwise again.
- Repeat steps 6 and 7 one more time. This will form two more flaps.
- And our Windmill is finished. Press with your finger on all edges of Windmill once again so it keeps its shape.
- Now use a pin to attach it to the Straw.
- Test your Windmill outside on a windy day or by blowing in it.
What Will You Develop And Learn By Making Origami Windmill
- Motor skills and hand-eye coordination
- Attention and concentration
- Math concepts, geometry, proportions, and fractions
- Confidence, patience, and resistance to frustration
- Creativity
If you enjoyed making paper Windmill and want more Origami projects, check out our other posts:
- Make Origami House for making the household for all that power the windmill will generate.
- Origami Pig if you want to expand your household to the whole farm!
- And for even more paper folding, check the Origami category. We are sure you will find more origami activities that you would enjoy exploring.